I’m a Pinterest stalker. I don’t really post any of my own stuff but I love to scour this crafty little site for new ideas. By the glow of my phone, just before I fall asleep at night, I search for tasty recipes, beauty secrets, cute outfits, easy yet elegant hairstyles, encouraging quotes, and inspiring works of art.
And then never use any of them.
My dark love however is searching for Pinterest fails. And before you get too judgey on me for laughing gleefully at the failures of others, please remember that these, erm–crafty little people, bless their hearts, willingly chose to put their meager efforts on the world wide interwebs.
Here are a few of my favorite epic fails. The first image in each set is how the outcome was supposed to look…


There’s even an entire website dedicated to Pinterest fails!
But enough about failure. If you’ve ever wanted to try a Pinterest worthy project of your own here’s an easy one to start with: decorate your own mug! And don’t worry, I worked out all of the kinks so you won’t fail (and if you do I promise not to laugh. A smirk perhaps).
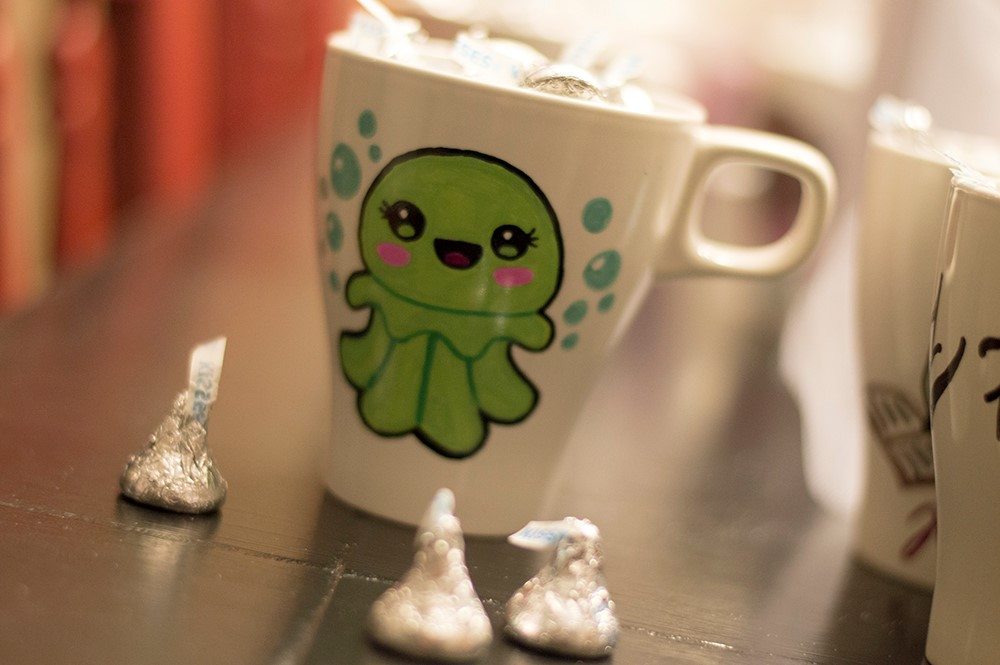
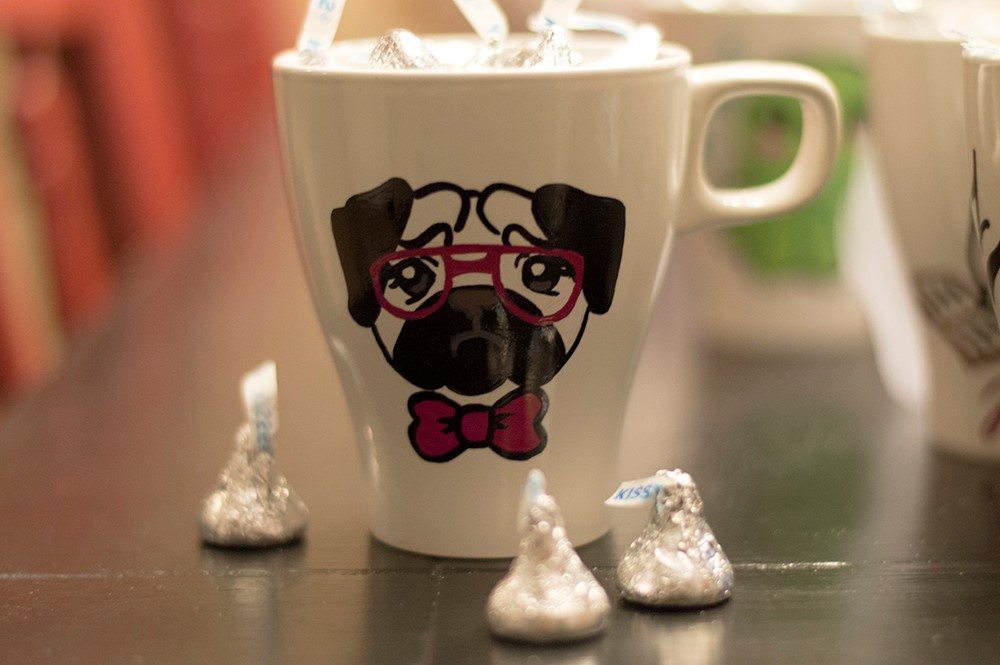
Over the holidays I drew cute little designs and creatures on mugs to give as gifts to friends and family. Spending money on gifts is great I suppose, but I’ve always appreciated the thoughtfulness and time spent on handmade gifts.

As I was doodling away on each mug I thought about the person I was making it for and why I appreciated them. I’d like to think that love went into each design.
It’s best to use cheap mugs (from the Dollar Store, for example) as they are made from cheaper materials which help for a longer lasting design. Be sure to clean your mugs after purchase and try not to touch the surface as your oily fingerprints can cause the paint to chip later. Wear latex gloves or insert a fist (with your non-writing hand) to hold the mug in place.
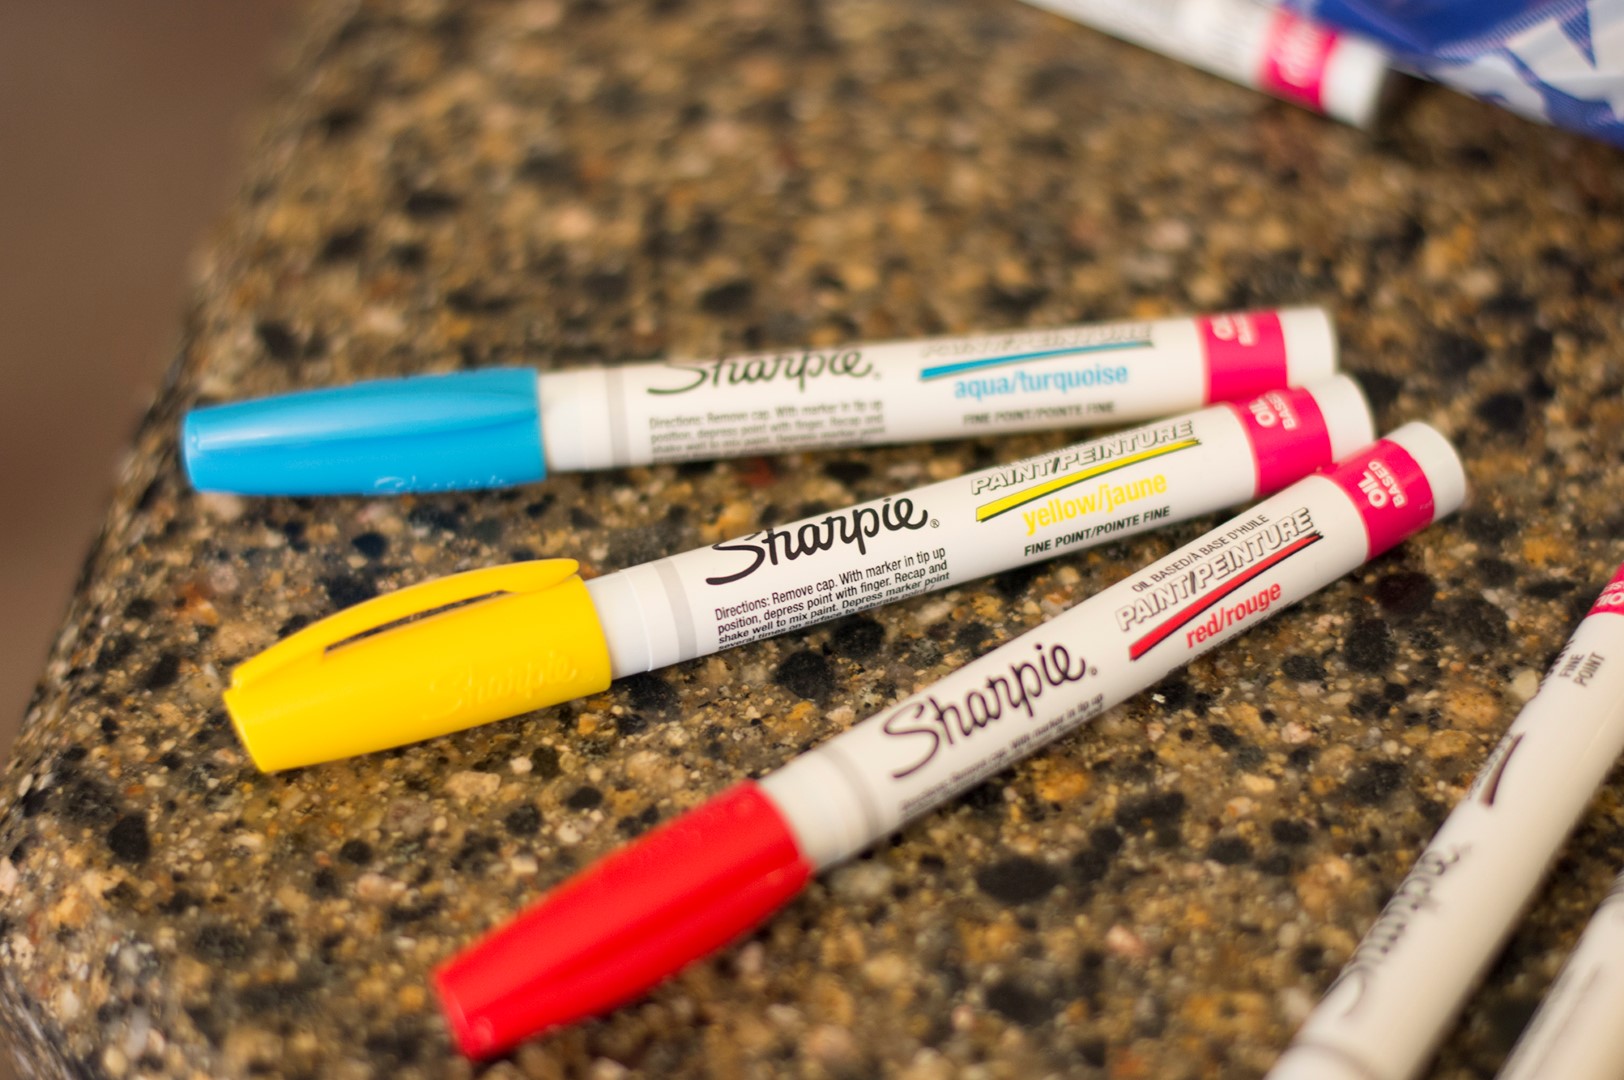
Regular Sharpies will also chip over time. You need to use oil-based Sharpies which can be found here. Be sure to read the package instructions. I also kept a piece of card stock on hand to test the colors and fluidity before committing to the permanence of the mug.

Once your design is finished, let your mug dry overnight. To set the design in, place the mug in a cool oven and turn to 350 degrees Fahrenheit for thirty minutes. When the timer goes off, turn off the oven but leave the mugs inside until they are completely cooled. If you really want to set the design in, you can repeat the baking step.
To complete the presentation, I filled each mug with candy and wrapped them in clear bags with sparkly tulle bows.
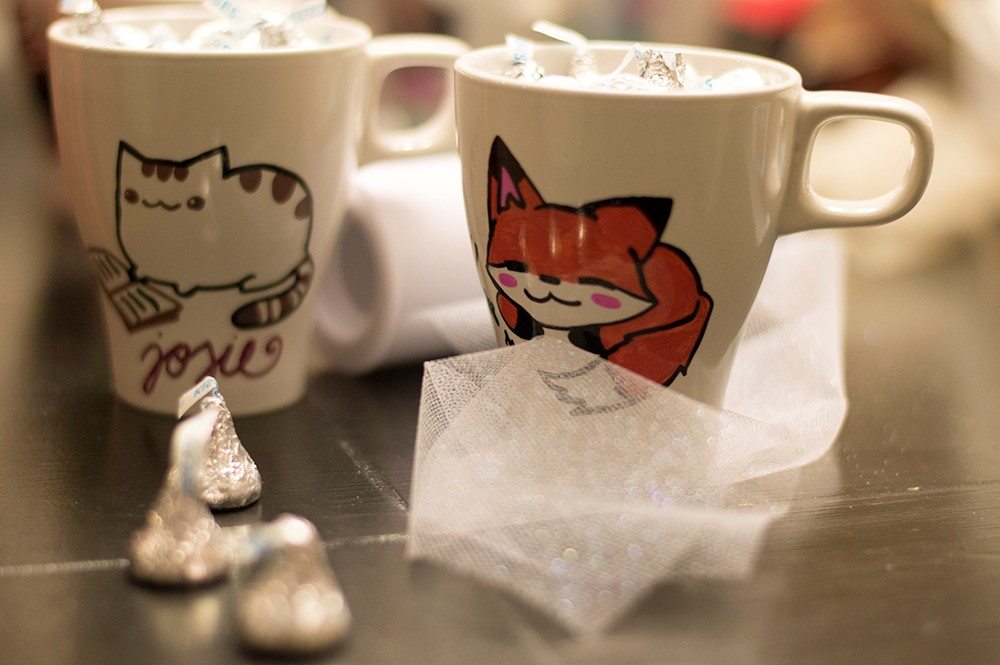
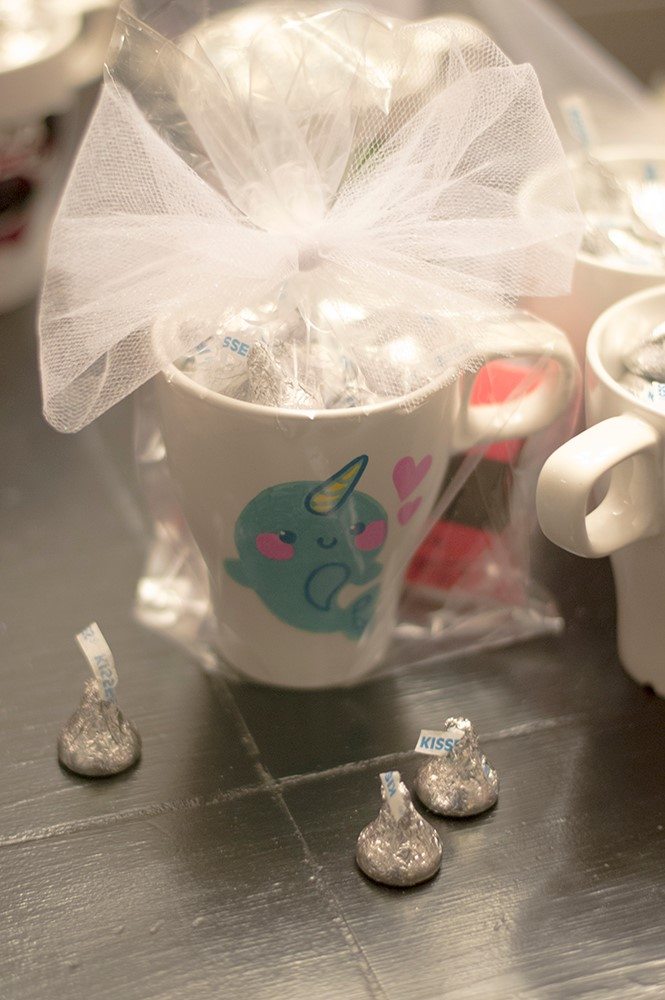
And voila! The mugs are dishwasher safe, but washing by hand will increase the longevity of your Pinteresty fail-proof design.
So cute! Thanks for sharing.