Painter’s Polka

Here at the Whitaker Studio we started a new live model session. Bill has always been open sharing everything he knows and seized the opportunity to demonstrate some key painting points:

1. Don’t begin a painting by drawing in the lines, because they will become “Holy Writ.” In other words, we as artists tend to grow very fond of the things we draw. We smugly pat ourselves on the back after rendering The Most Perfect Eye Ever Drawn In the Entire Universe even though it was drawn in the wrong place. We will then proceed to create an entire drawing on a poor foundation until the whole thing falls apart (but hey! Splendid eyeball, remember?). If you drew it once, you can draw it again. I used to feel like a failure if I didn’t get the drawing perfect on the first round. Now, I wipe it down and start over like a boss (okay. Maybe the third time around I start to feel a tingle of Woeisme Syndrome). When beginning a painting Bill suggests blocking in big shapes with a big brush. Use patches of color and value to draw.

2. Paint against the form. Marks should be measured, but also fresh and unexpected. And don’t blend the life out of it. Let some of those swishy, scratchy marks show.

3. Use thin washes of dirty color when laying in the drawing. Then use thick patches of clean color to build the form. This is an old master’s trick.

4. Move around! Don’t aimlessly noodle one spot. Paint with purpose. Move around the form. It’s also important to move in front of the easel, or do the “Painter’s Dance.” Bill calls it the “Painter’s Polka.” He says this is how he gets his daily exercise.

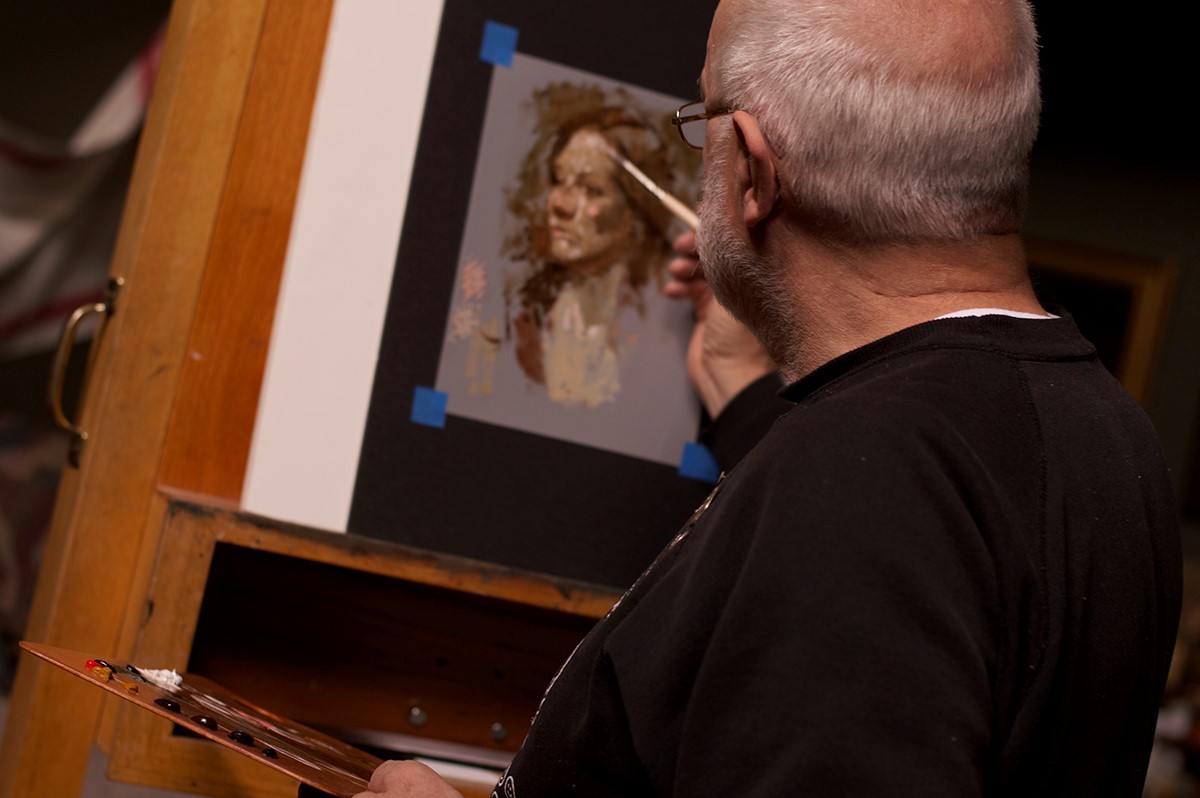
Here’s the completed demo. This was rendered in less than thirty minutes. In the bottom left corner Bill illustrated a boring “Barn Door Painter,” and then showed how marks should be painted.

Bill also discussed not getting caught up in details too soon. He says this is much easier for guys. Girls, on the other hand, just love to get in there and noodle eyelashes. Each mark was made to give the impression of the form, knowing full well it may or may not need altered.

Here’s the palette Bill used: Ivory Black, Raw Umber, Transparent Red Oxide, Asphaltum, Yellow Ochre, Cadmium Red Light, Alizarin Crimson, Terra Verte, Ultramarine Blue, and Lead White.

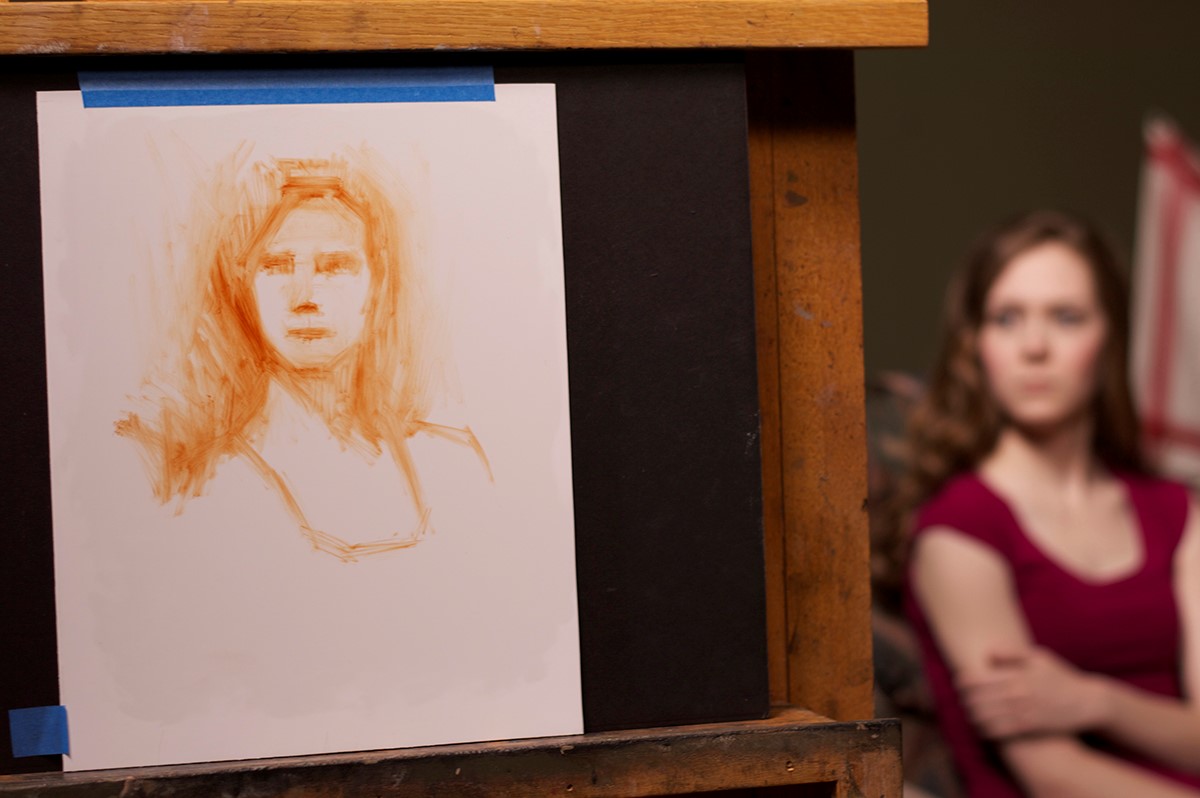
After the demo, it was our turn. Here’s my setup. Our beautiful model, Rachelle, is in the background. This was rendered in the first twenty minute session.

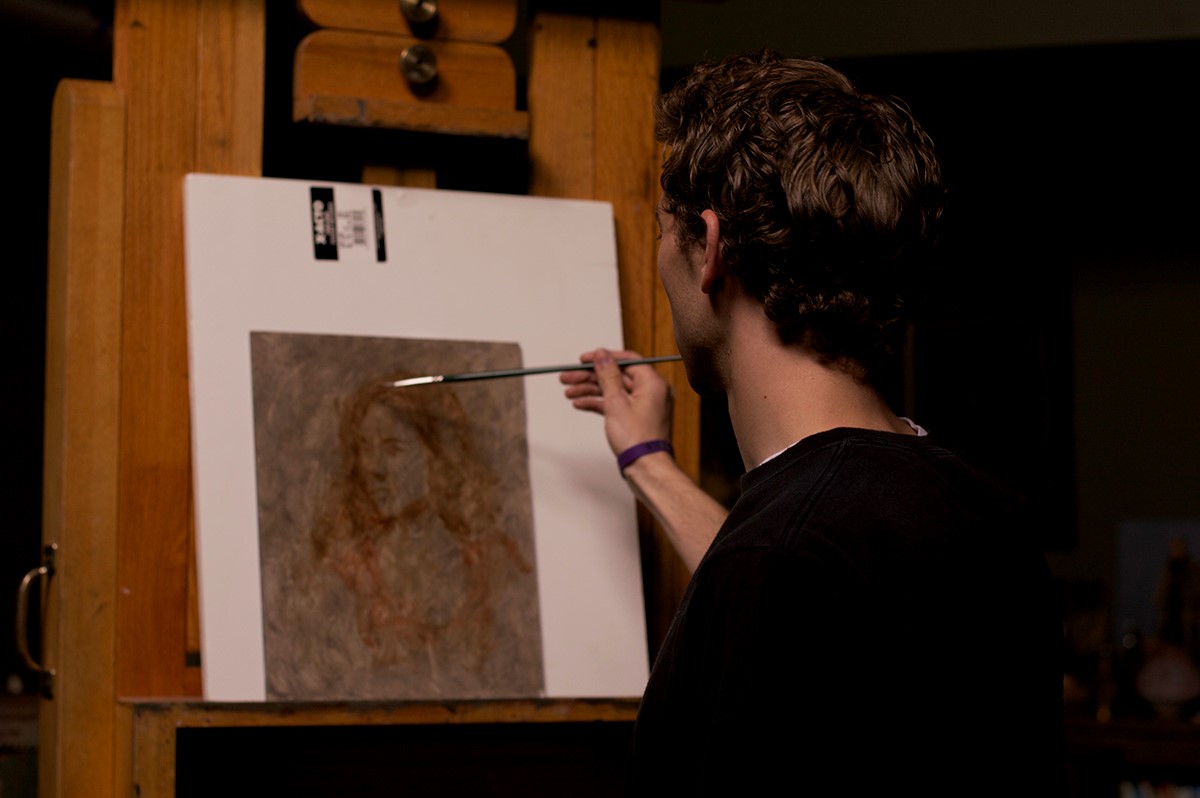
Here’s Brendan’s setup, an absurdly talented student of the Whitaker Studio.

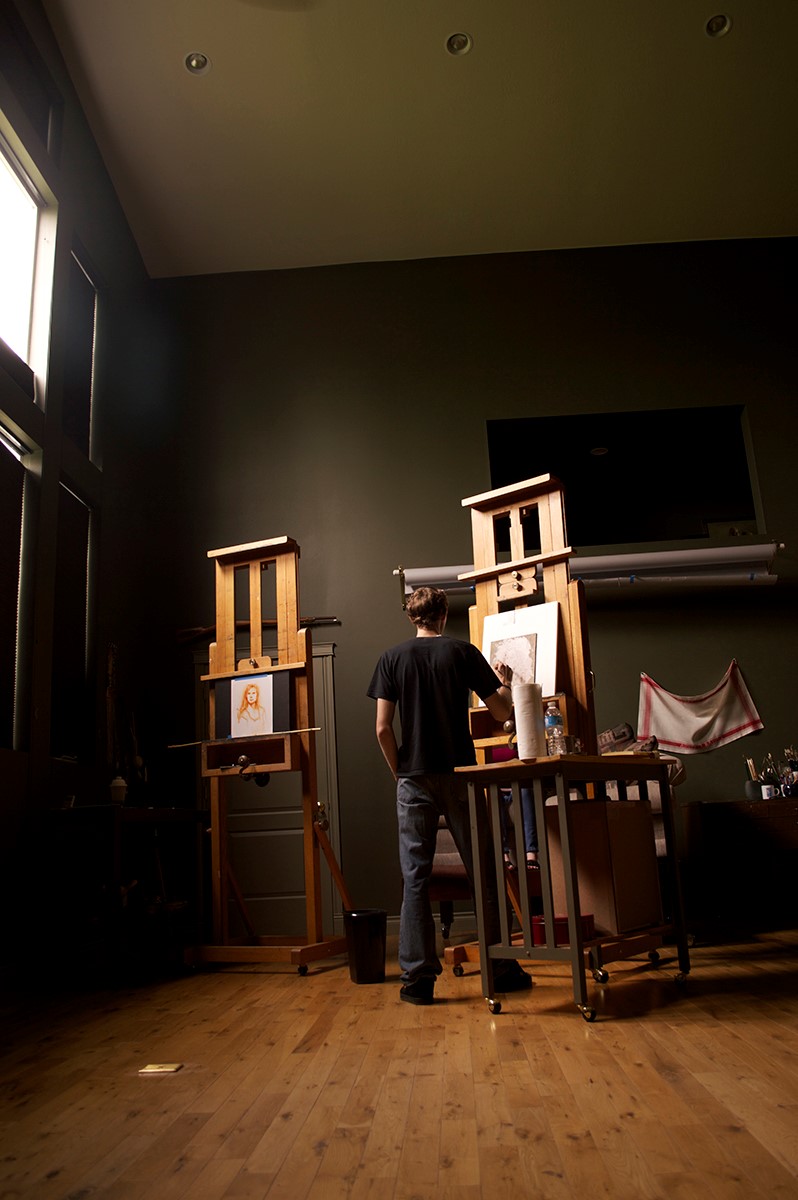
During break, I snapped a couple more photos of Bill’s studio.

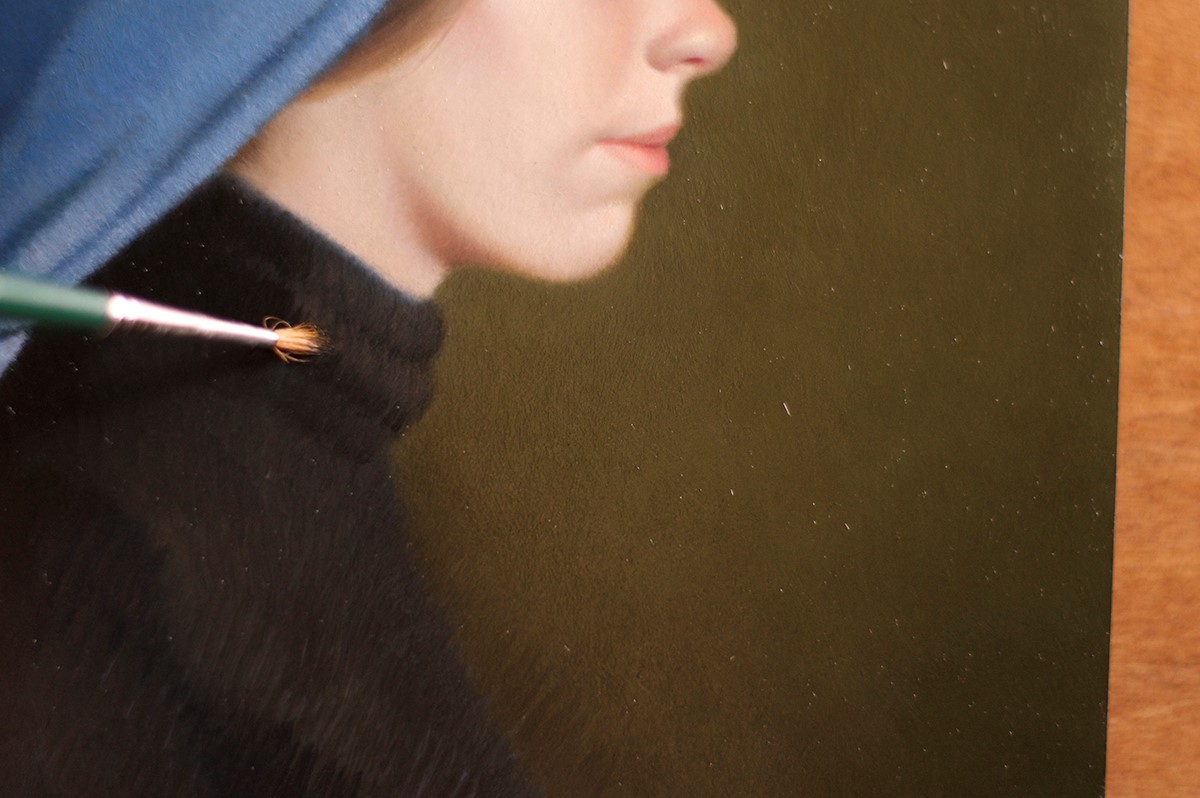
Here’s a detail shot of my current favorite Bill Whitaker painting. Obviously the photo doesn’t do it justice. In life you can see the luminous depth of her skin. He truly is the master of skin tones.

Painting with north light is ideal as the light is constant and does not fluctuate throughout the day.

Brendan using clean patches of color.

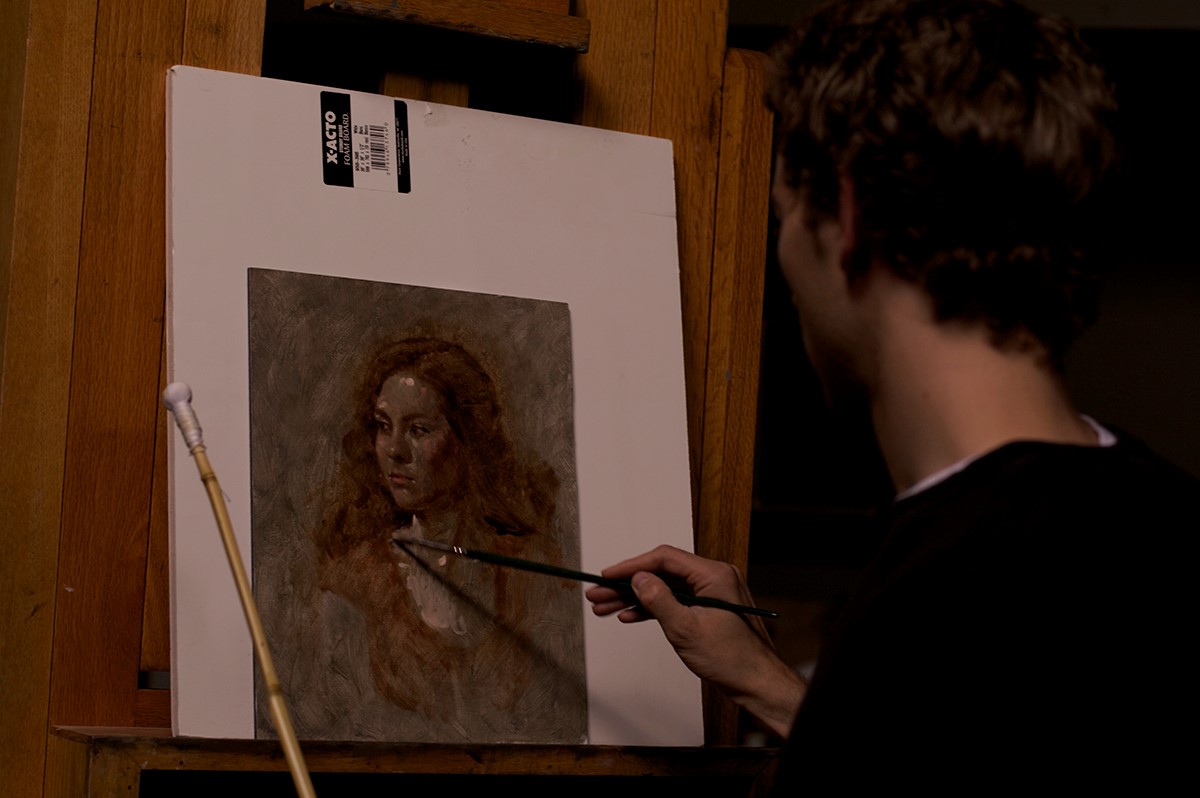
Here’s where I stopped at the conclusion of the day.

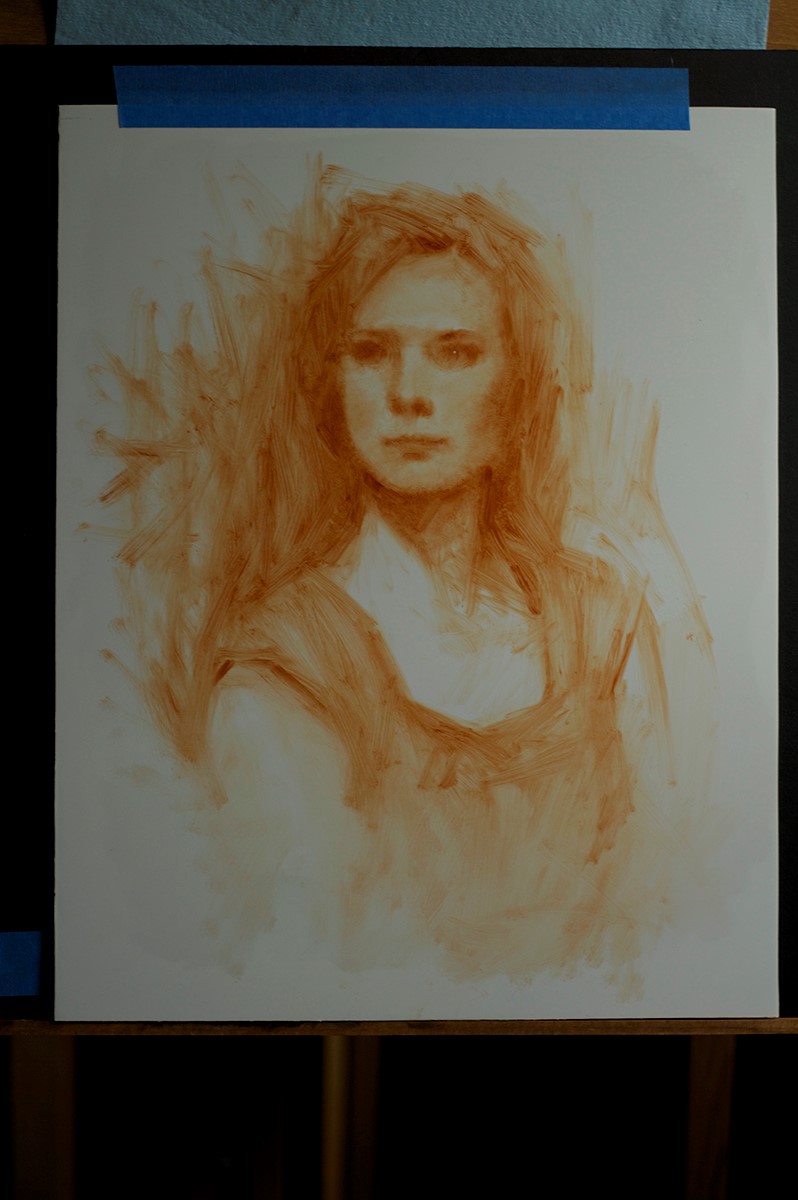
Rather than wait on the edge of your seat for this painting’s update, get up and do the Painter’s Polka.

Paintbrush Demo

Bill found his favorite sable brush for portrait detail in London, England many years ago. They are difficult and expensive to ship overseas, however, and he’s been searching for its equal in the states ever since to no avail. Bill also has a close relationship with Trekell, a wonderful paintbrush company located in California. He’s been purchasing brushes from them almost since the company’s inception and has also filmed demos and tested products for them before they head to market. Trekell, in turn, made Bill a Signature Series of portrait brushes according to Bill’s specifications.

Recently, Bill sent Trekell one of his England brushes to see if they could make a replica. They sent him five to test, and Bill gave one to me for my input.

To test the brushes as objectively as possible, Bill is simultaneously using the Trekell replica, his England brush, and a watercolor Kolinsky sable. He remarked he’s unsure of the feel of the replica just yet. As I’ve had no previous experience with magical paintbrushes discovered in a dark and quaint London shop…resting perhaps in a velvet-lined case near the window, a shaft of light breaking through the dirty clouds to form a dusty halo around the lacquered hardwood handle and glinting off of the silver-plated ferrule which catches the artist’s eye…

Anyway.

I am loving the Trekell replica. The sable bristles are longer  than my other detail brushes and yet retain their point for a buttery smooth stroke every time. This is not the smallest brush I own, but it renders minute details with ease.

As I work layer upon layer, I used the Trekell sable to create broken strokes. I then go over the strokes with one of Bill’s old Kolinskys which are perfect for blending and creating textures.

The painting still isn’t finished, but here’s another progress shot:

Soap Bubble Art

The weather in Utah is just as absurd as it is in Ohio and there can easily be snow and desert heat in the same day. However, spring finally seems to be unfolding and to celebrate in the midst of the budding trees, overgrown grass, and dandelions (our yard is momentarily the shame of the neighborhood), I’ve decided to create Giant Soap Bubble Art with my after school art students at the Walden School of Liberal Arts, the same school where Bryan works as a middle school social studies teacher.

This is an art project I’ve been wanting to do for a while, and Bryan and I headed off to Lowes and Walmart this afternoon to pick up the necessary supplies. After fashioning our bubble wands and mixing the bubble solution we headed to the backyard to test them out.

Bryan was the Giant Bubble Master. It took me a while to get the hang of it. I was concentrating so hard on making my bubbles more awesome than his that I stuck my tongue out without realizing it…

It was so much FUN! The special solution made the bubbles ginormous and made for a sweet photo opportunity. I can’t wait until tomorrow to make them with my students! If you are interested in making your own Giant Bubble Art you can find the how-to here.